
A Recipe for Sparkling Stoves
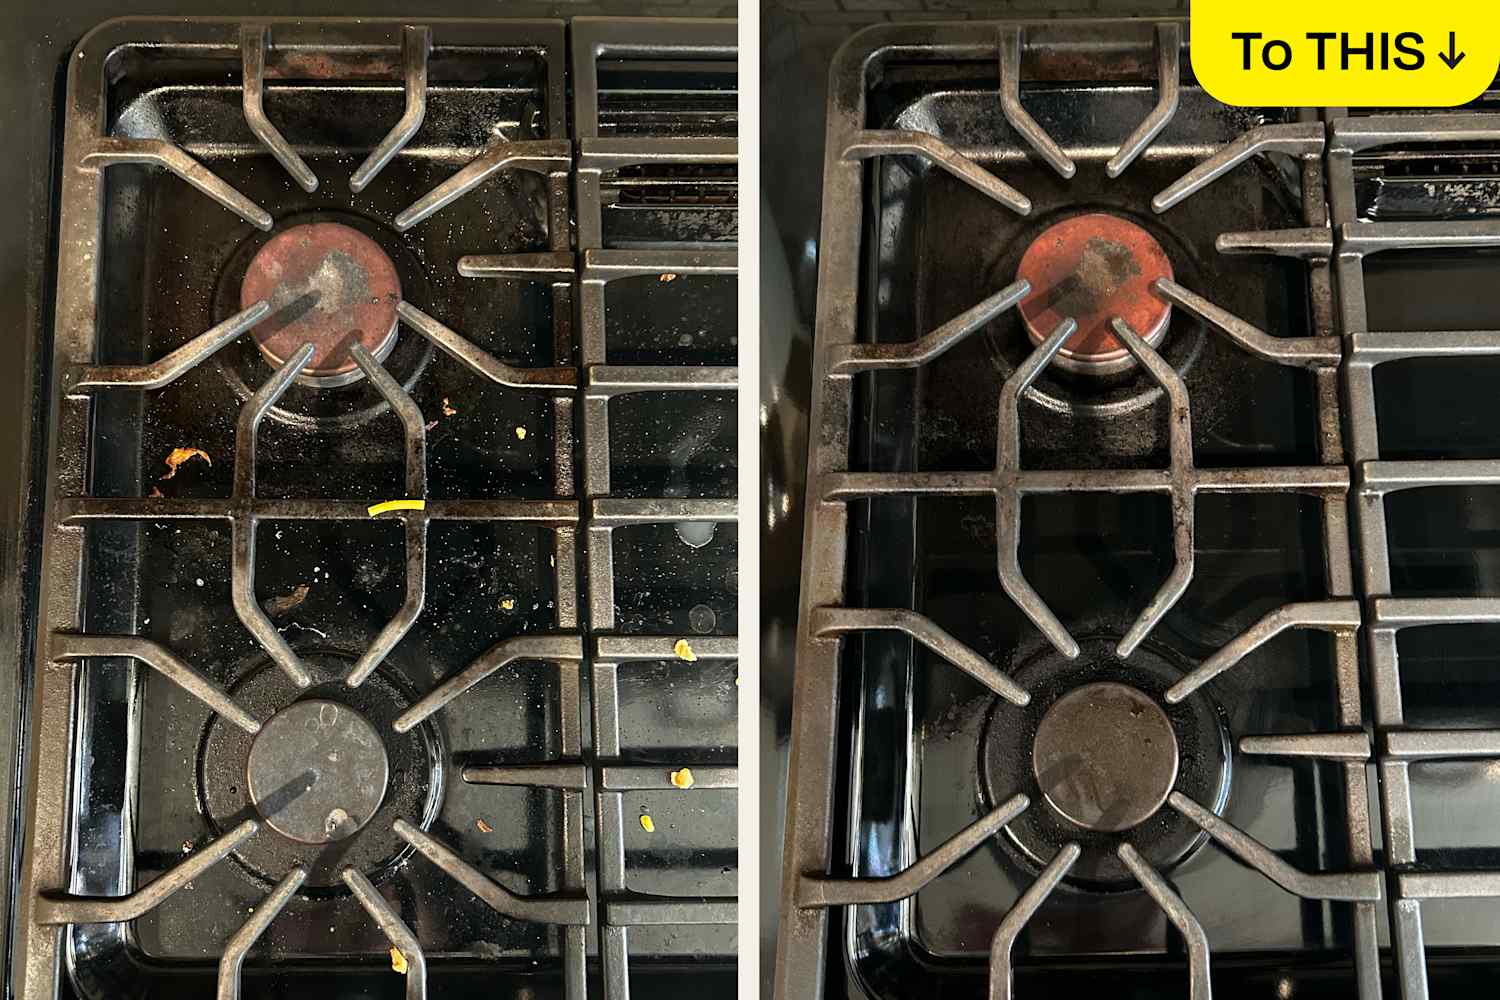

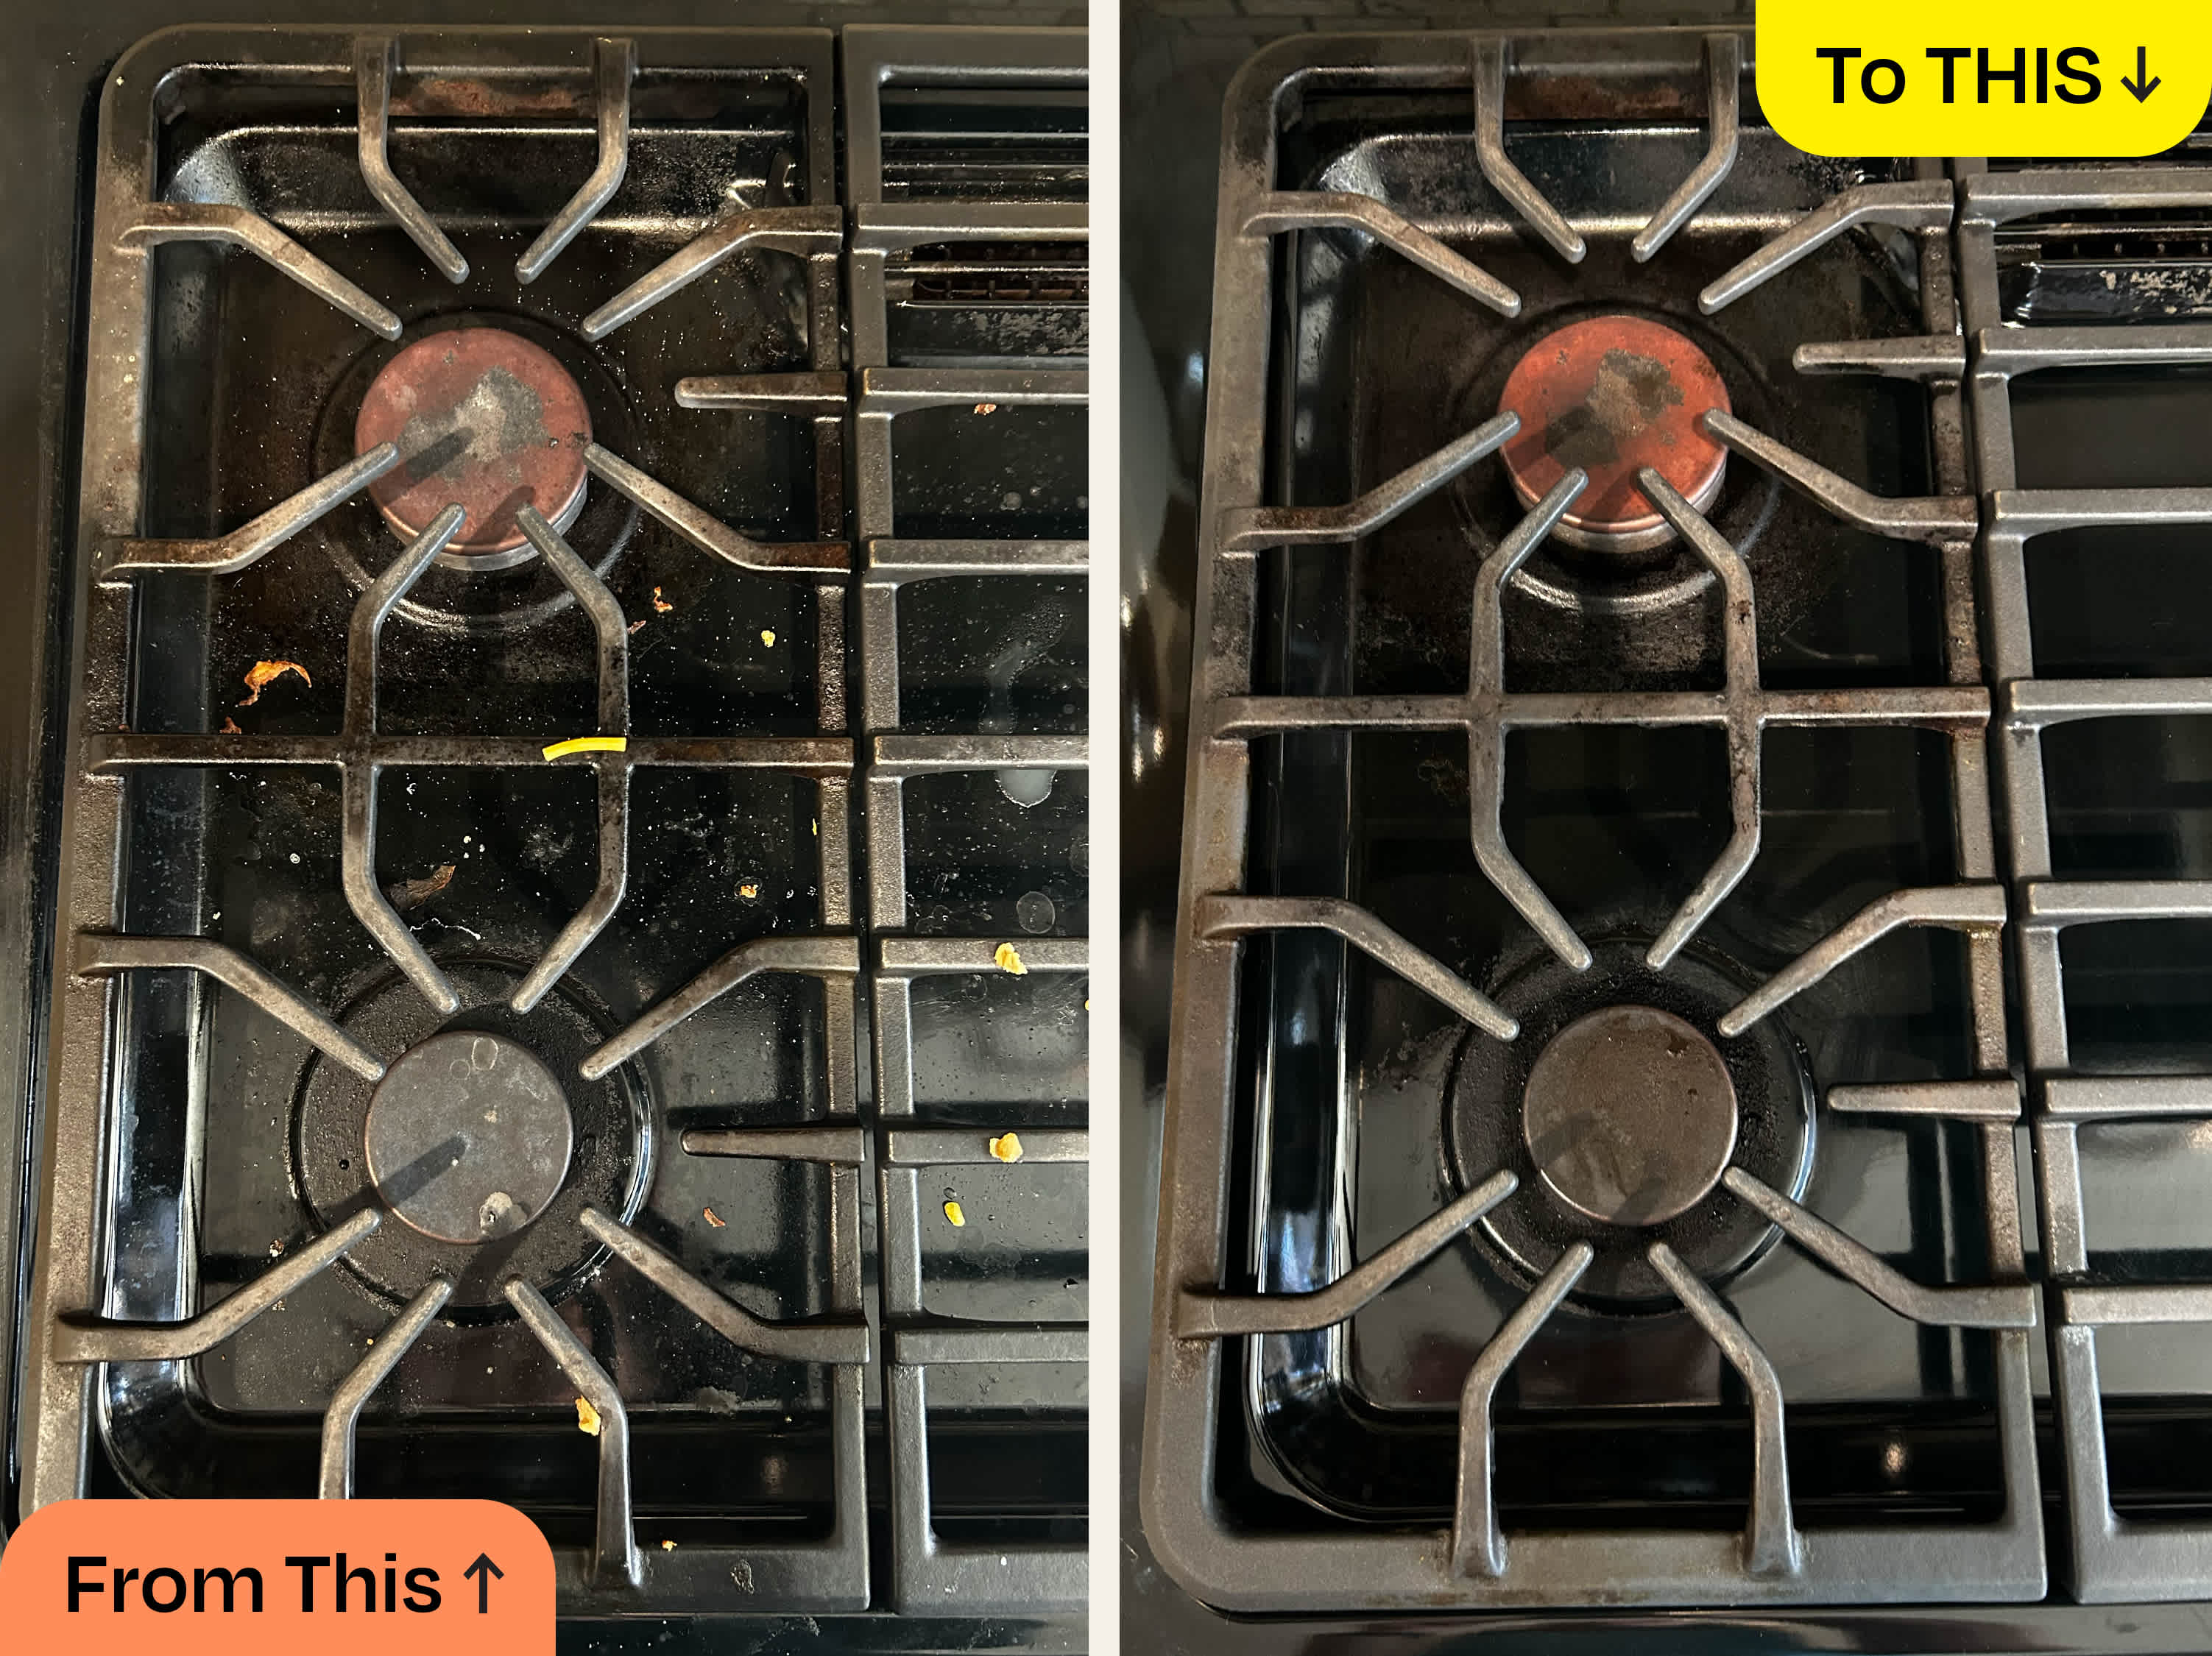

There is something deeply satisfying about a sparkling stove.
It’s not just about cleanliness. It’s about restoration. A stove sits at the heart of the kitchen — the place where meals are created, conversations unfold, and daily life simmers. When it’s covered in grease splatters, burnt sauce, and stubborn stains, it quietly dulls the entire room. But when it shines? The whole kitchen feels lighter.
The good news: you don’t need harsh chemicals or expensive specialty products to get that shine. With the right “recipe,” a little patience, and some simple household ingredients, your stove can go from sticky and stained to sparkling and fresh.
Let’s break it down step by step — like a recipe.
Ingredients for the Perfect Shine
Before you begin, gather your supplies. Think of this like assembling mise en place for a dish — preparation makes everything smoother.
Basic Cleaning Ingredients:
Baking soda
White vinegar
Dish soap (preferably degreasing)
Warm water
Microfiber cloths or soft sponges
An old toothbrush or small scrub brush
Spray bottle
Paper towels or dry cloth
Optional Boosters:
Lemon juice
Hydrogen peroxide
Razor scraper (for glass-top stoves only)
These simple ingredients work because they break down grease, lift grime, and dissolve stubborn residue without damaging most stove surfaces.
Step 1: Let the Stove Cool Completely
Safety first. Always ensure the stove is fully cool before cleaning. Residual heat can cause burns — and can also bake cleaning solutions onto the surface prematurely.
Unplug electric burners if possible, and turn off the gas supply to burners if you’ll be removing parts for deeper cleaning.
Cleaning a cool stove also allows cleaning agents like baking soda to sit and work effectively.
Step 2: Remove and Soak Removable Parts

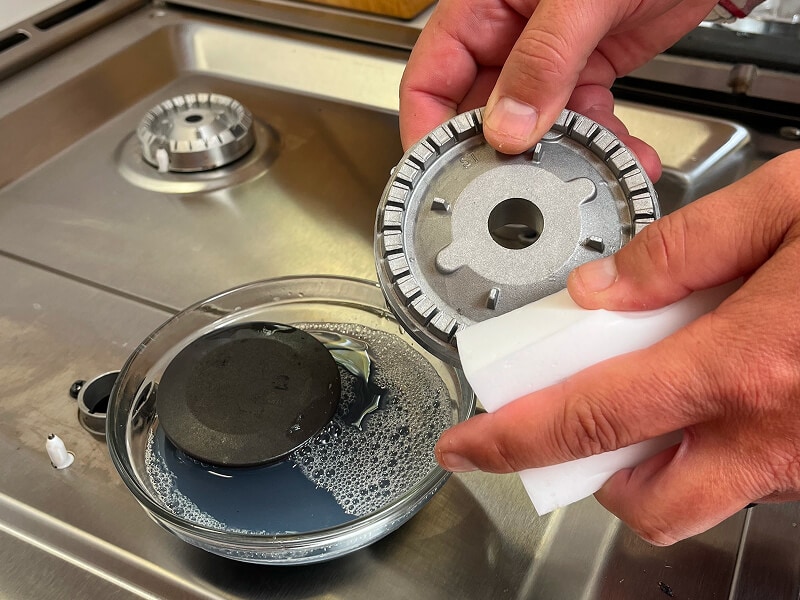


If you have a gas stove, remove:
Grates
Burner caps
Burner heads (if detachable)
Place them in a sink or large tub filled with hot water and dish soap. Let them soak for at least 20–30 minutes.
Why this works: heat softens grease, and soap breaks down oil molecules. Soaking loosens baked-on food so you won’t need to scrub aggressively later.
For extra grime, sprinkle baking soda directly onto greasy areas before soaking.
Step 3: The Baking Soda Paste (Your Secret Weapon)
This is the heart of the recipe.
In a small bowl, mix:
½ cup baking soda
Enough water to form a thick paste
Spread this paste generously across the stovetop surface — especially on burnt spots and greasy patches.
Let it sit for 15–30 minutes.
Baking soda is mildly abrasive, which makes it excellent for scrubbing without scratching (when used gently). It also neutralizes odors and helps lift stubborn residue.
For extra cleaning power, lightly spray white vinegar over the baking soda after it’s been applied. The fizzing reaction helps loosen debris.
Step 4: Gentle Scrubbing
Using a microfiber cloth or soft sponge, begin scrubbing the surface in circular motions.
For tight corners and around burners, use an old toothbrush.
Avoid steel wool or overly abrasive pads, especially on:
Glass-top stoves
Stainless steel surfaces
Enamel-coated finishes
The goal is lift — not damage.
If stains persist, reapply paste and allow more time. Patience beats force.
Step 5: Special Care for Glass-Top Stoves
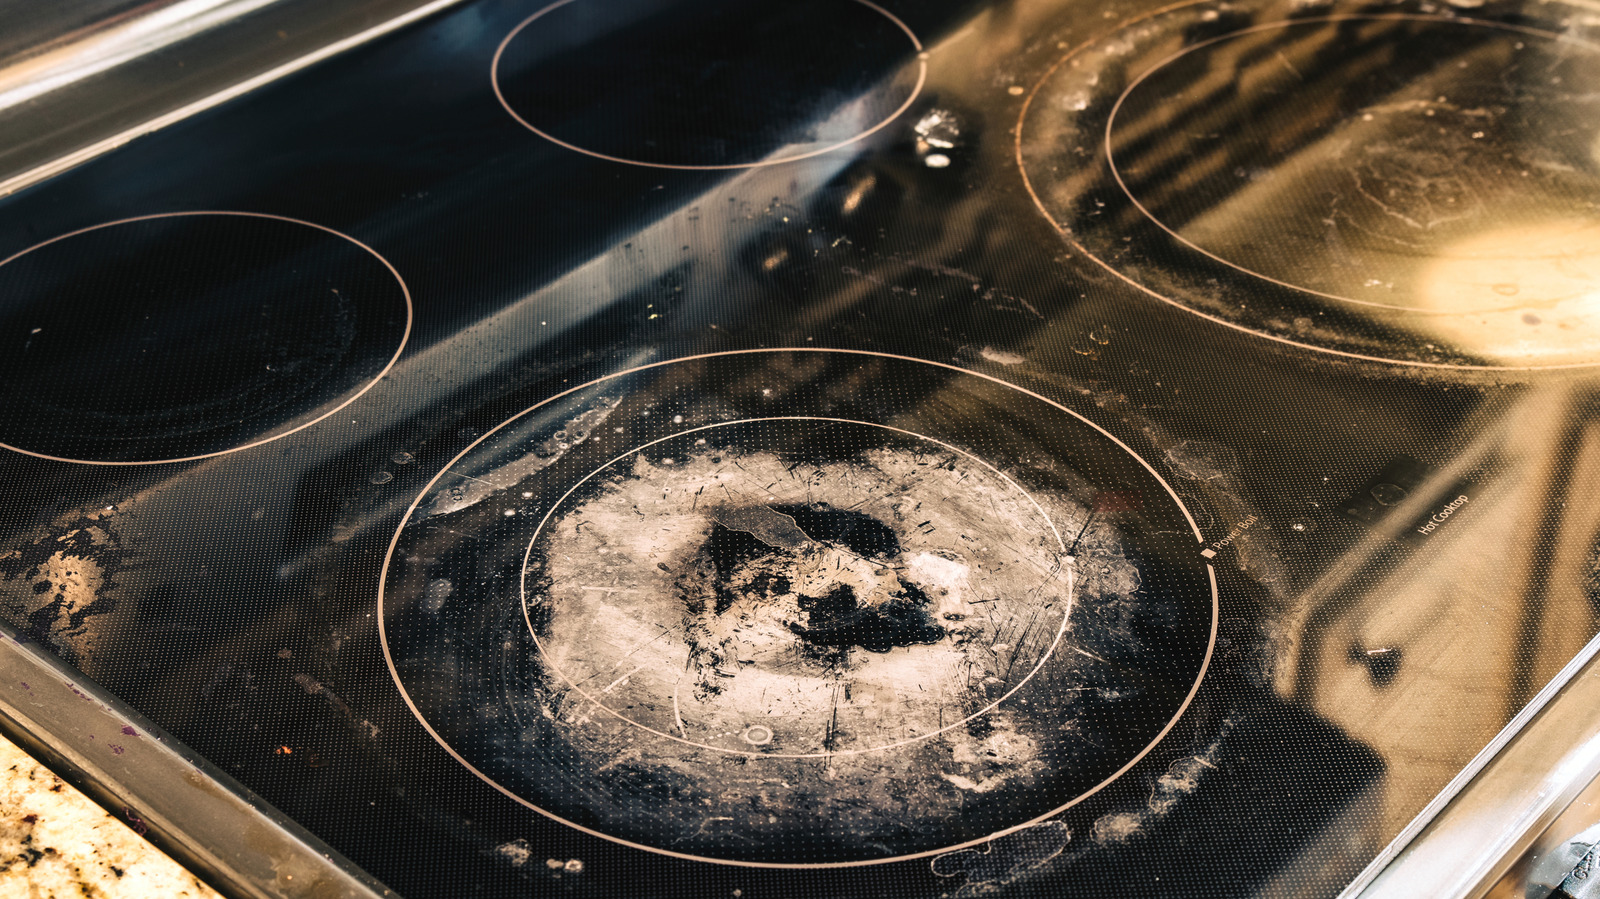

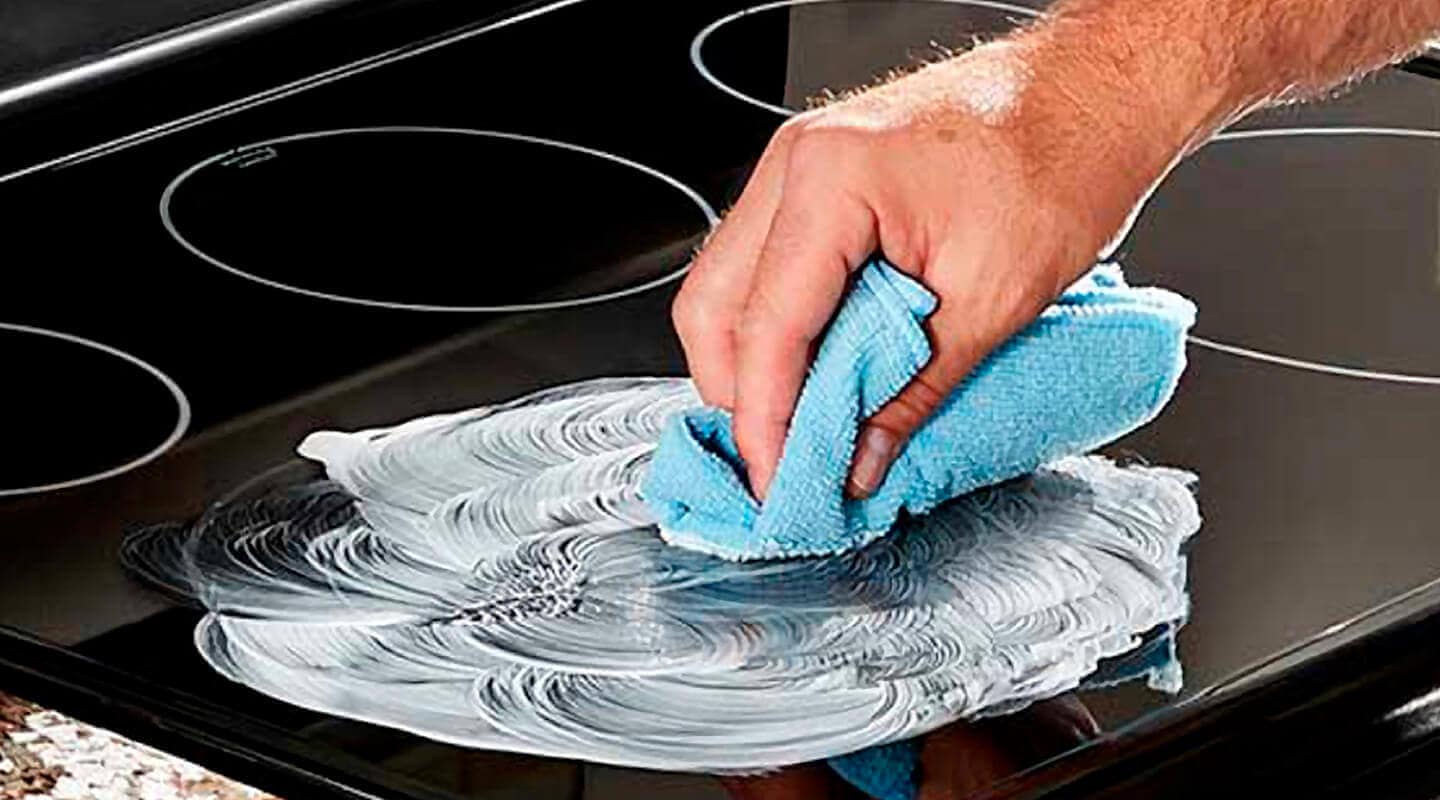

Glass-top stoves require a slightly different approach.
After applying baking soda paste:
Lay a warm, damp cloth over the surface.
Let it sit for 15 minutes.
Wipe clean gently.
For hardened burnt-on spots, carefully use a razor scraper at a shallow angle. This lifts residue without scratching when done properly.
Never scrape aggressively. Always keep the blade flat and controlled.
Finish with a vinegar spray and wipe for a streak-free shine.
Step 6: Clean the Knobs and Control Panel
Knobs collect grease invisibly over time.
If removable, soak them in warm soapy water for 15 minutes. Scrub gently and dry completely before replacing.
For non-removable knobs and control panels:
Spray cleaner onto a cloth (not directly onto the panel).
Wipe gently to avoid moisture entering electrical components.
A toothbrush works well around edges.
This step makes a noticeable difference — it’s often overlooked.
Step 7: Polish for a Sparkling Finish
Once all residue is removed:
Spray white vinegar lightly across the surface.
Wipe with a clean microfiber cloth.
Buff dry for shine.
For stainless steel stoves, wipe in the direction of the grain to prevent streaks.
A few drops of olive oil on a soft cloth can be used sparingly for stainless steel polishing — but buff thoroughly to avoid residue buildup.
Natural Variations of the Recipe
Sometimes grease is extra stubborn. Here are alternative boosts:
Lemon & Baking Soda Boost
Sprinkle baking soda, then rub with half a lemon. The natural acidity enhances cleaning and leaves a fresh scent.
Hydrogen Peroxide Power Paste
Mix baking soda with hydrogen peroxide instead of water. Apply to stained areas and let sit longer (up to an hour). Great for deep discoloration.
Always spot-test new mixtures in an inconspicuous area first.
Maintenance: The Real Secret Ingredient
A sparkling stove is easier to maintain than to restore.
Here’s the golden rule:
Wipe it down after every use.
Even a quick 30-second wipe with a damp cloth prevents grease buildup. Once-a-week light cleaning keeps you from needing heavy scrubbing sessions.
Tips for maintenance:
Cover pots to prevent splatter.
Wipe spills immediately once cool.
Deep clean monthly.
Consistency reduces effort.
Common Mistakes to Avoid
Cleaning while the surface is hot.
Using harsh abrasive pads on glass.
Spraying liquids directly into gas burners.
Forgetting to dry components thoroughly before reassembly.
Ignoring the sides and edges of the stovetop.
Small oversights can reduce shine — or cause damage.
Why a Sparkling Stove Matters
Cleaning a stove may seem trivial.
But environment influences mood.
A cluttered, greasy stove subtly signals unfinished work. It creates visual noise. It can discourage cooking — which impacts health and routine.
A clean stove, on the other hand, invites use. It feels fresh. It reflects care.
There’s psychological clarity in visible order.
Cleaning is not just hygiene. It’s restoration.
A 20-Minute Quick-Clean Version
Short on time? Try this fast recipe:
Spray warm soapy water across surface.
Sprinkle baking soda.
Let sit 10 minutes.
Scrub gently.
Rinse and wipe with vinegar.
It won’t replace a deep clean — but it keeps buildup manageable.
Turning Cleaning Into Ritual
Instead of viewing stove cleaning as a chore, consider reframing it:
Play music.
Light a candle afterward.
Enjoy the satisfaction of the final shine.
Small rituals transform maintenance into mindfulness.
There is something grounding about restoring shine with your own hands.
The Final Result
When you step back and see your reflection faintly mirrored in the stovetop, the reward is immediate.
The burners look refreshed.
The glass gleams.
The stainless steel shines.
It feels new — even if it isn’t.
And the best part?
You created that transformation with simple ingredients and intention.
The Recipe in One Glance
Prep: Cool stove, remove parts
Soak: Hot water + dish soap
Paste: Baking soda + water
Boost: Vinegar spray
Scrub: Gentle circular motion
Polish: Vinegar + microfiber buff
Maintain: Wipe after every use
That’s it.
No magic chemicals. No expensive tools. Just a reliable method.
Closing Thoughts
A sparkling stove is more than a surface-level victory.
It’s a reminder that small, consistent effort restores beauty.
Grease builds slowly — and so does shine.
Whether you deep clean monthly or maintain daily, this simple recipe ensures your kitchen centerpiece stays bright, inviting, and ready for whatever you cook next.
So roll up your sleeves.
Mix the paste.
Let it fizz.
And watch your stove return to its sparkling best.


0 comments:
Enregistrer un commentaire